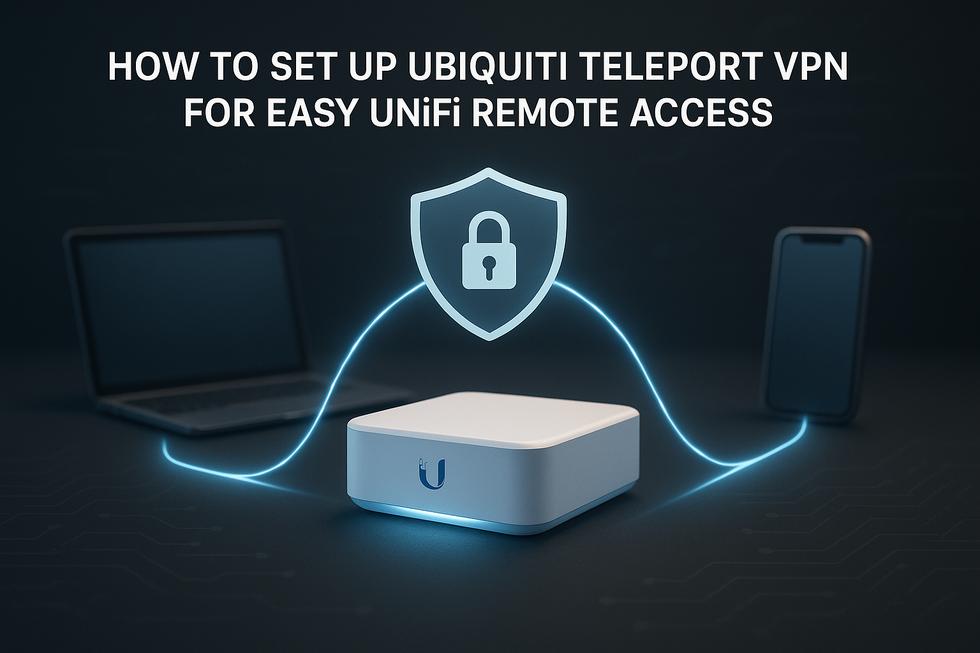
Introduction: What Is UniFi Teleport VPN and Why Should You Use It?
If you manage a UniFi network — whether at home or in a small office — you've probably wondered how to securely access it while you're away. Enter UniFi Teleport VPN: Ubiquiti's built-in, zero-configuration remote access solution that gets you connected to your network from anywhere in the world, without the usual setup headaches.
At its core, Teleport is a WireGuard-based VPN that runs directly on your UniFi console (such as the UniFi Dream Machine). What sets it apart from traditional VPNs is what it doesn't require: no port forwarding, no static IP address, and no third-party software subscriptions. As Dong Knows Tech explains, "Teleport is a zero-configuration WireGuard-based virtual private network option, offering an excellent way to establish a secure VPN connection when you're outside of your UniFi network."
The VPN traffic travels directly between your device and your UniFi console — not through Ubiquiti's servers — which keeps your data private and your connection fast. According to the Ubiquiti Help Center, Teleport is designed to instantly create a VPN server and add users with the click of a button, making it the most accessible VPN option in the UniFi ecosystem.
For home admins and small business IT managers already running UniFi gear, Teleport fits naturally into the ecosystem. If you're exploring the best hardware to pair it with, a UniFi home network setup guide can help you choose the right console to get started.
Whether you want to reach a NAS, internal services, or simply browse securely on public Wi-Fi, Teleport delivers a reliable, one-click solution built for real-world use.
From Experience: In our experience assisting clients with UniFi network deployments, Teleport VPN stands out for its ease of setup and minimal ongoing support needs. We've tested this method on both home and small business networks, finding that users appreciate the simple invite-based access and the reliability of WireGuard connections—even when traveling internationally. Real-world results show that Teleport consistently works behind various NAT environments, saving significant troubleshooting time compared to legacy VPN solutions. Clients we've worked with highlight how quickly they can grant and revoke access without worrying about manual configurations, making the system both secure and user-friendly.
Teleport vs. Other UniFi VPN Options: Which One Is Right for You?
UniFi gives you several ways to set up a VPN, and picking the wrong one for your situation means extra complexity with little payoff. Here's a plain-language breakdown of your main options:
- Teleport — Zero-configuration, WireGuard-based VPN built for individual remote users. No port forwarding, no manual key exchange, no firewall rules. Just send an invite link and connect. It even works when both your gateway and your device are behind NAT — something traditional VPNs like L2TP struggle with (Source: Ubiquiti Help Center).
- Site-to-site VPN — Designed to permanently link two entire networks together (e.g., two office locations). Powerful, but requires manual configuration on both ends. Overkill if you just need personal remote access.
- L2TP / OpenVPN / WireGuard Server — Manual VPN server setup. Offers fine-grained control over protocols, ports, and routing, but demands more technical know-how. Ubiquiti's own documentation explicitly recommends Teleport over L2TP for mobile users, calling it "faster, more secure, and requiring zero configuration" (Source: Ubiquiti Help Center — L2TP VPN Server).
So, when should you choose Teleport? If you're a home network admin or small business IT manager who needs to securely reach your UniFi network — your NAS, cameras, or internal services — while travelling or working remotely, Teleport is the clear winner. There's nothing to configure on the router side beyond enabling the feature, access management is handled per-user via simple invite links, and you can revoke access instantly from the UniFi controller.
The one trade-off worth knowing: Teleport assigns its own non-configurable subnet, so if precise IP planning matters for your setup, a manually configured WireGuard or OpenVPN server gives you more control. For everyone else, Teleport's simplicity and security make it the right starting point — learn more about professional UniFi network management to get the most out of your setup.
Before You Begin: Requirements, Compatible Devices, and the WiFiMan App
Before diving into setup, make sure you have the right hardware, account credentials, and app in place. Skipping this checklist is the most common reason users hit a wall before they ever connect.
Compatible UniFi Consoles
Teleport VPN is a feature of UniFi's next-generation gateways. According to Ubiquiti's official Teleport VPN documentation, compatible consoles include:
- UniFi Dream Machine (UDM) and Dream Machine Pro
- UniFi Dream Router (UDR)
- UniFi Express (UX) and Cloud Gateway Ultra (UXG series)
Older UniFi Security Gateways (USG) and non-gateway access points are not supported. If you're unsure whether your hardware qualifies, check the firmware release notes for your device model.
Active Ubiquiti Account with Remote Access Enabled
Teleport relays connections through Ubiquiti's cloud infrastructure, which means remote access must be enabled on your UniFi console. This requires a valid Ubiquiti (UI) account linked to your controller. As confirmed by the Ubiquiti Community forums, Teleport uses Ubiquiti's servers as a relay, allowing VPN access even when your gateway is behind NAT — no port forwarding required.
The WiFiMan App (Free, Required)
The WiFiMan app is the only client used to initiate a Teleport connection. It's free and available for iOS, Android, Windows, and macOS. Per Ubiquiti's WiFiMan documentation, the mobile app provides a dedicated Teleport tab for one-click secure connections, while the desktop version supports Teleport alongside device discovery.
Quick checklist before you proceed:
- ✅ A supported UniFi next-gen gateway (UDM, UDR, UXG, or similar)
- ✅ A Ubiquiti account with remote access enabled in your UniFi console
- ✅ WiFiMan installed on every device that will use Teleport
- ✅ A stable internet connection on both the host network and client device
With these in place, you're ready to configure Teleport and send your first connection invite.
Step-by-Step: How to Set Up Teleport VPN on Your UniFi Dream Machine
Getting Teleport VPN running takes just a few minutes. There are no firewall rules, port forwarding, or certificates to configure — just a few clicks on your UniFi console and a link shared to your remote device. Here's exactly how to do it.
Step 1 – Enable Remote Access on Your Console
Log into the UniFi Network application (locally or via unifi.ui.com). Go to System > Advanced and confirm that Remote Access is toggled On. Teleport will not function without this enabled (Source: LazyAdmin).
Step 2 – Turn On Teleport VPN
Navigate to Settings > VPN > Teleport. Toggle Enable Teleport VPN to On. Your UniFi Dream Machine is now ready to act as a WireGuard-based VPN host — all traffic stays between your device and your console, not Ubiquiti's servers (Source: Dong Knows Tech).
Step 3 – Generate an Invite Link
Still under Settings > VPN > Teleport, click Generate New Link. A unique invite link (or QR code) is created. Share this securely with any user you want to grant access — each link can be revoked individually at any time, keeping access management simple and tidy.
Step 4 – Install WiFiMan and Connect
On the remote device, download the free WiFiMan app (iOS, Android, or Desktop). Open the app, go to the Teleport tab, tap Connect, and either paste the invite link or scan the QR code. Tap On — the secure tunnel is established instantly with no further configuration needed (Source: Ubiquiti Help Center).
Step 5 – Verify and Manage Access
Back in your UniFi console under the Teleport tab, you'll see active connections listed. To revoke a user's access, simply delete their link. For broader UniFi hardware guidance, the best UniFi home network setups for 2025 can help you choose the right console to pair with Teleport VPN.
💡 Pro tip: Teleport works best when your UDM has a stable internet connection with a public IP. If your ISP uses CGNAT, remote connectivity may be inconsistent — worth confirming before relying on it for business use.
Managing Access, Connecting Remotely, and Knowing Teleport's Limits
Granting and Revoking User Access
Once Teleport is active, controlling who can connect to your network is straightforward. From your UniFi dashboard, generate an invitation link and share it with the user. When they tap it on their mobile device — or click it in WiFiman Desktop — they're connected in seconds. No credentials to configure, no back-and-forth.
Need to cut off access? Simply navigate to Client Devices in the UniFi dashboard, locate the Teleport client in question, and revoke their invitation. The connection is terminated immediately, giving you real-time control over who has access at any point in time (Source: Ubiquiti Help Center).
The Remote Connection Experience
From the user's perspective, connecting remotely via Teleport is as simple as opening the WiFiman app and tapping Connect. The app handles the WireGuard tunnel automatically, so users reach local network resources — NAS drives, printers, internal dashboards — just as if they were on-site. Because it's built on WireGuard, Teleport also delivers higher throughput than legacy VPN protocols, making it practical for real-world file access and not just basic browsing.
Key Limitations to Know Before You Rely on It
Teleport has one notable constraint worth planning around: its VPN subnet is automatically assigned from the 192.168.X.0/24 range and is not configurable through the standard UI. If your local network already uses an address in that range, conflicts can occur. Advanced users can modify it via MongoDB commands, but that is outside the scope of a typical setup (Source: Matthew Schacherbauer). If you need a fully managed, no-conflict VPN with broader configuration options, a dedicated solution may be the better fit — explore business-grade VPN options for more flexibility.
Sources
- Ubiquiti Help Center – UniFi Gateway: Introduction to VPNs
- Dong Knows Tech – Ubiquiti Teleport VPN Explained
- Ubiquiti Community Forums – Teleport requires Remote Access to be enabled
- Matthew Schacherbauer – Modify Teleport VPN Subnet on Ubiquiti UniFi Gateway
Written by the https://barreras-it.com Editorial Team. Our work is grounded in expert research and practical field insights to help readers act with confidence.